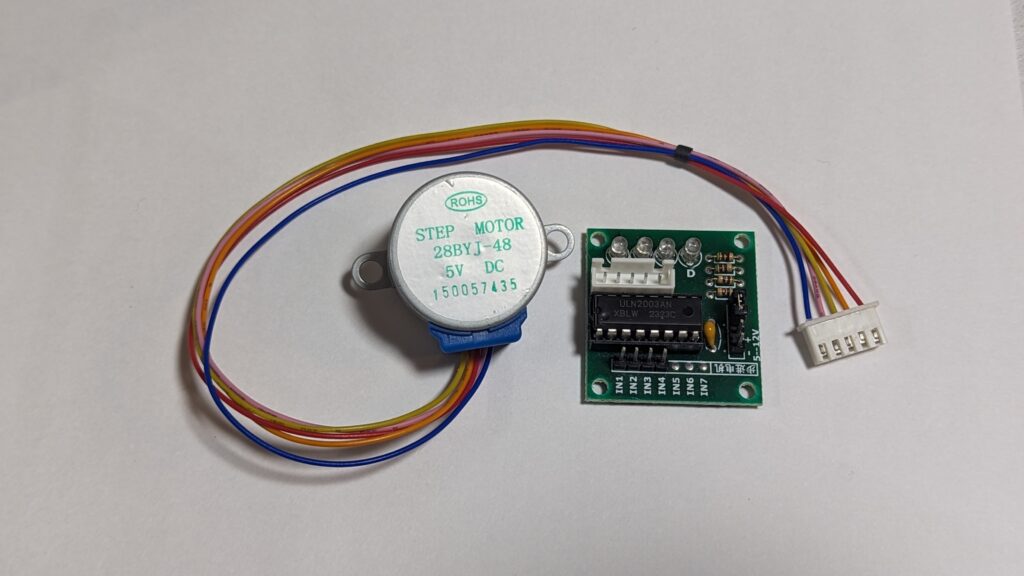
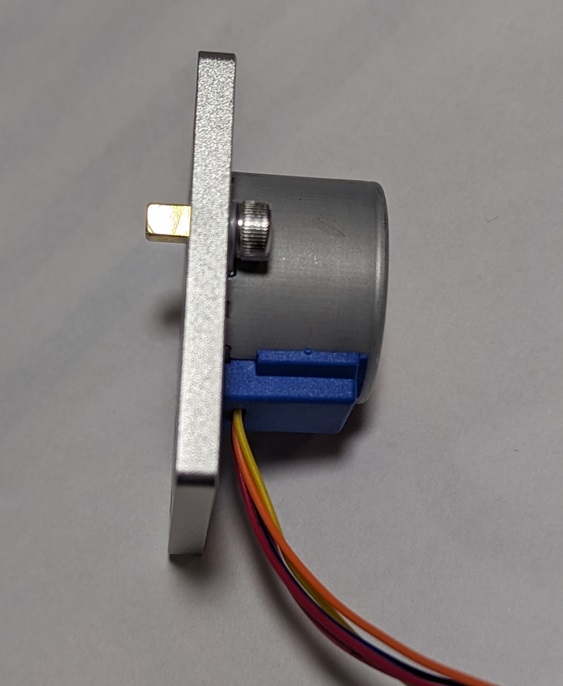
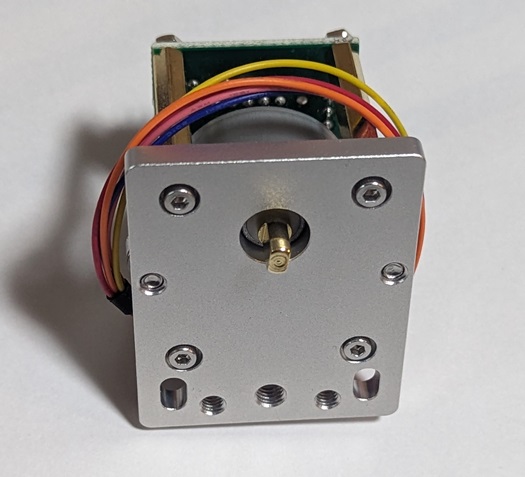
フォーカサーの自作などでポピュラーなのは「28BYJ48」という5Vで動く減速機付き小型ステッピングモーター。いろんなサイトで格安で入手可能です。ボード付きで売ってることも多いです。ArduinoやRASPBERRY-piなどのマイコン工作でもおなじみです。
![](https://stellartech.science/wp-content/uploads/2024/01/PXL_20240116_140410910-1-1024x576.jpg)
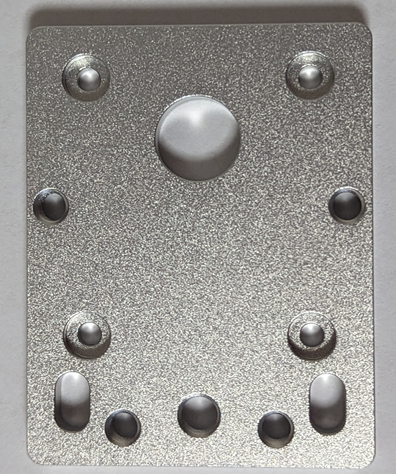
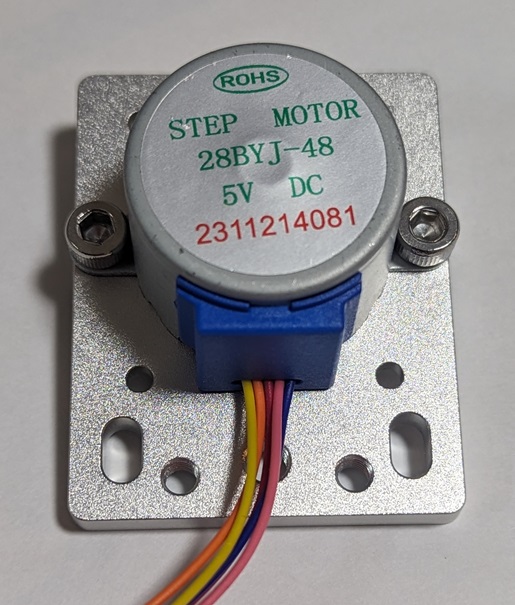
フォーカサーでも作ってみようかと、モーターと望遠鏡の固定に便利なようにアルミ板の固定プレートを作りました。
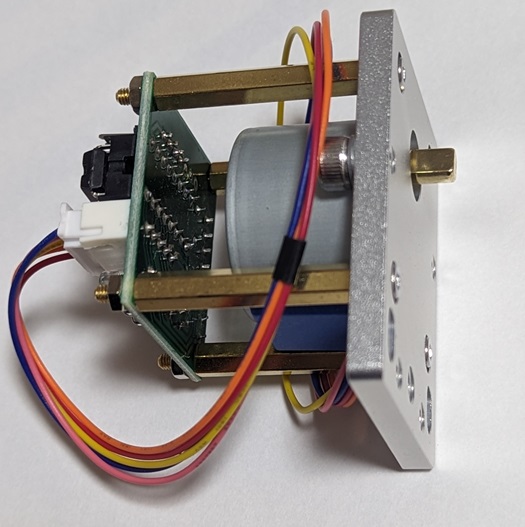
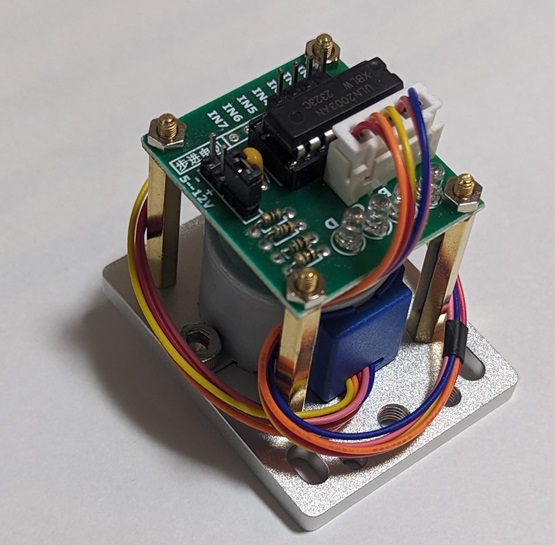
![](https://stellartech.science/wp-content/uploads/2024/01/bottom-3.png)
![](https://stellartech.science/wp-content/uploads/2024/01/top-3.png)
![](https://stellartech.science/wp-content/uploads/2024/01/withMotor.jpg)
![](https://stellartech.science/wp-content/uploads/2024/01/PXL_20240116_125044412-1-576x1024.jpg)
![](https://stellartech.science/wp-content/uploads/2024/01/withMotorBack.jpg)
![](https://stellartech.science/wp-content/uploads/2024/01/withMotorSide.jpg)
![](https://stellartech.science/wp-content/uploads/2024/01/図面2-1024x526.png)
ポイント1.
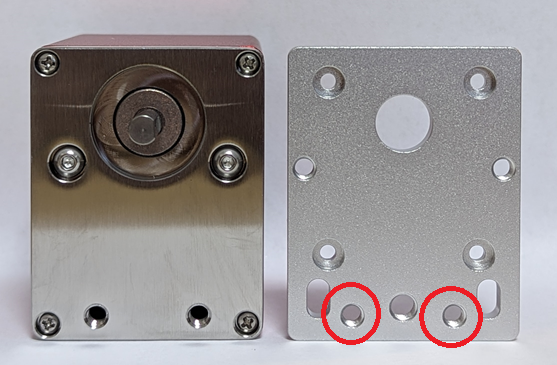
ドライバー基盤付で購入したときについてくる基盤「X113647 Stepper Motor Driver Board」もスペーサーで固定できるよう、基盤と同じ穴間隔でスペーサー用穴を開けています。
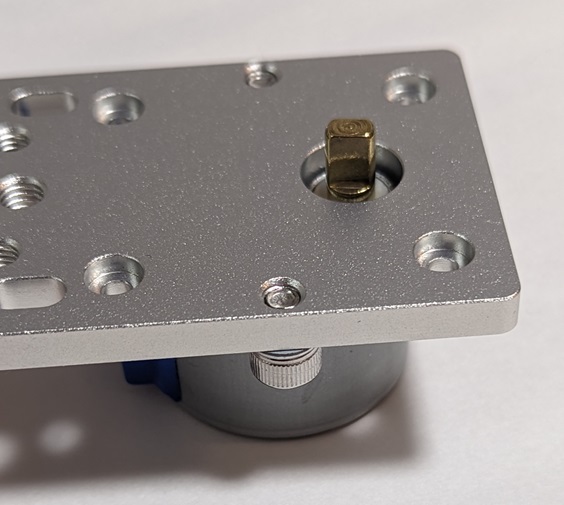
![](https://stellartech.science/wp-content/uploads/2024/01/withAll01.jpg)
![](https://stellartech.science/wp-content/uploads/2024/01/withAll03.jpg)
![](https://stellartech.science/wp-content/uploads/2024/01/withMotor02.jpg)
ポイント2.
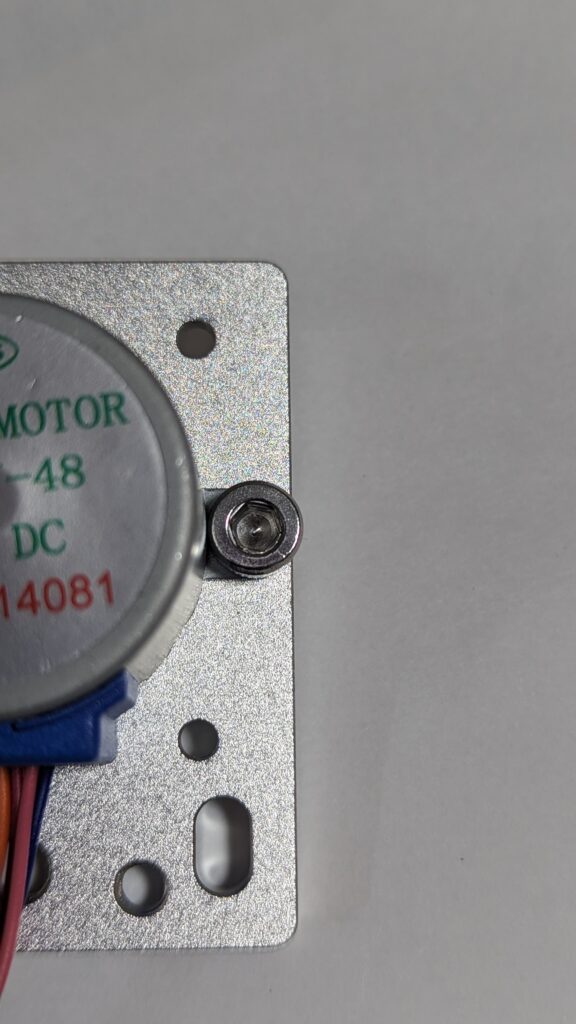
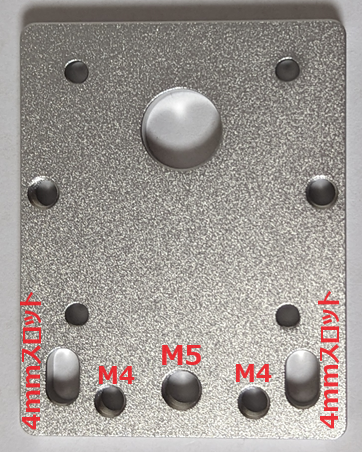
ホームセンターで売っているような安いL字アングルプレートなどで固定できるよう、センターにM5ネジ穴と、サイド2箇所に5mmスロットの汎用穴を開けています。
![](https://stellartech.science/wp-content/uploads/2024/01/穴.png)
ポイント3.
某超メジャーフォーカサー取付穴と同じ位置にM4のネジ穴を開けてますので、流通している各種鏡筒用の取付金具が流用できるかもしれません。(モーターを固定する金具、ネジが0.5㎜ほどはみ出しますので、100%フィットするとは言えません)
![](https://stellartech.science/wp-content/uploads/2024/01/compare.png)
例によって、多めに作って単価を下げました。他にも欲しい人がいるかな?
ヤフオクに出しました。欲しい人はこちらから。